Kitchen Setup & Organization
Kitchen Setup & Organization: How to Create a Smooth-Running Home Bakery
Running a successful home bakery isn’t just about perfect recipes or flawless piping skills—it starts with the way your kitchen is set up and organized. An efficient, safe, and well-structured kitchen can save you hours of time each week, help you produce consistent results, and keep stress levels low when the orders pile up.
In this post, we’ll break down everything you need to know about creating a bakery-ready kitchen space that works for you—not against you. If you missed the earlier parts of this series, be sure to check out Week 1: Ready to Bake a Business? and Week 2: Tools & Kitchen Setup for the foundation steps before diving in here.
Home Bakery Workspace Setup
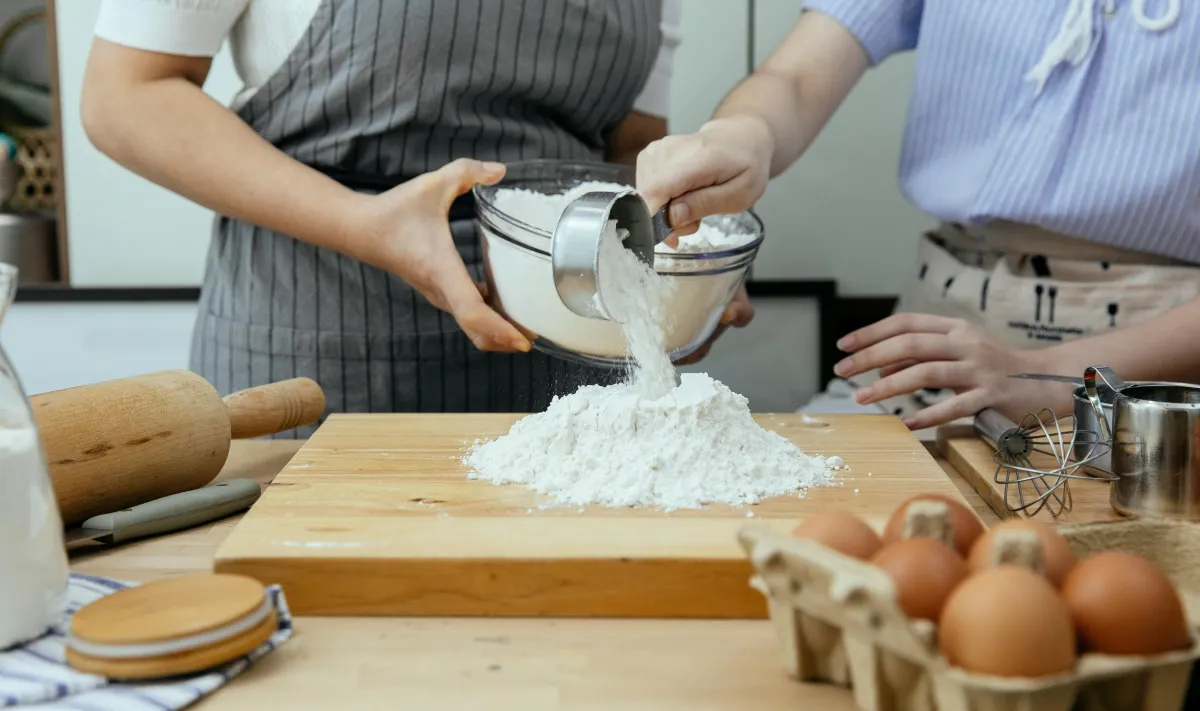
The first step to an organized home bakery is carving out a dedicated space for baking and decorating. While you may already have a kitchen, transforming it into a dual-purpose personal and business kitchen takes intention.
1. Define your baking zone.
Set aside a section of your kitchen that’s “bakery-only.” This might be one countertop, a baker’s rack, or a table dedicated to decorating. By keeping your tools and supplies in this area, you’ll reduce the stress of hunting for equipment every time you bake.
2. Invest in the right surfaces.
If possible, add a stainless steel or marble prep table. Marble, in particular, is a dream for rolling dough because it stays cool. Stainless steel is durable, food-safe, and easy to sanitize.
3. Lighting matters.
Cookies and icing details look completely different in dim vs. bright light. Good overhead lighting (preferably daylight bulbs) helps you spot imperfections and match icing colors accurately.
4. Storage within reach.
Install shelves, pegboards, or drawer dividers to keep frequently used tools—like spatulas, scrapers, and piping bags—close at hand. Every time you stop to search for something, it slows your workflow.
5. Comfort counts.
Hours of baking and decorating can take a toll. Use an anti-fatigue mat where you stand the most, and invest in a stool if you do detailed decorating work for long stretches.

Efficient Layout & Workflow
A bakery kitchen should flow like a production line: ingredients prepped, dough mixed, cookies baked, cooled, decorated, and packaged—all without crisscrossing or doubling back.
Think of your kitchen in zones:
Ingredient Zone: Dry and cold storage for flour, sugar, butter, eggs, and flavorings.
Prep Zone: Counter space near your mixer for measuring and mixing dough.
Baking Zone: Oven, cooling racks, and nearby sheet pans.
Decorating Zone: Piping bags, scribe tools, icing colors, and cookies ready to decorate.
Packaging Zone: Bags, boxes, ribbons, heat sealers, and labels.
By separating these zones, you create a natural workflow: from ingredients → prep → baking → decorating → packaging.
Tips for improving workflow:
Place mixers near outlets and keep bowls, measuring cups, and spoons nearby.
Store baking sheets close to the oven.
Keep parchment paper in a dispenser or drawer near your prep area for easy access.
Use rolling carts or tiered racks if space is limited—especially useful for cooling cookies or transporting trays from oven to decorating space.
When your kitchen is laid out strategically, you’ll notice faster turnaround times and fewer moments of “where did I put that spatula?”

Ingredient Storage (Bulk Buying, Labeling, Food Safety)
Ingredients are the backbone of your bakery, and managing them well makes a huge difference in both efficiency and cost.
1. Buy in bulk, but smartly.
Wholesale clubs or restaurant supply stores are great for flour, sugar, butter, and eggs. Buying large quantities saves money, but always balance savings with freshness. Ingredients like flour and powdered sugar should be rotated often to avoid going stale.
2. Storage containers are your best friend.
Use clear, airtight containers for dry goods. Bonus: you can see when you’re running low.
Label everything with the ingredient name and the date you opened it.
Store smaller quantities in your main kitchen zone, and keep backup bulk storage in a pantry or closet.
3. Cold storage.
Butter, eggs, and cream cheese should be stored at the right temperature (below 40°F).
Dedicate a section of your fridge to “bakery only” items so personal groceries don’t get mixed in.
If you bake at high volume, consider a second fridge or chest freezer just for your baking supplies.
4. Food safety standards.
Even as a home bakery, you should follow professional safety guidelines:
First in, first out (FIFO): always use the oldest product first.
Don’t mix personal food with business ingredients.
Store allergens (like nuts) separately and label them clearly.
Good storage habits mean fewer emergency trips to the store, less waste, and consistent product quality.
Cleaning Routines and Cross-Contamination Prevention
A clean kitchen isn’t just about appearance—it’s a cornerstone of food safety and efficiency. Crumbs, icing smears, and cluttered tools can quickly turn into a chaotic (and unsafe) workspace.
1. Daily cleaning checklist:
Wipe and sanitize counters before and after baking.
Wash and dry all bowls, utensils, and piping tips immediately after use.
Sweep and mop the floor daily (sugar and sprinkles have a way of traveling everywhere).
Empty trash and compost to prevent pests.
2. Weekly deep cleaning:
Wipe down shelves, containers, and appliances.
Check ingredient containers for spills or expired products.
Sanitize fridge handles, mixer knobs, and other “touch points.”
3. Preventing cross-contamination:
Use separate cutting boards and knives for allergens.
Dedicate piping bags or bottles to allergen-free products when possible.
Wash hands (and change gloves if you use them) between handling allergens and regular ingredients.
Label packaging clearly if items contain allergens like nuts, dairy, or gluten.
4. Bonus tip: The reset rule.
Before starting a new order, “reset” your kitchen—wipe down surfaces, clear clutter, and set out only the tools and ingredients you’ll need. This creates a fresh start and helps you stay focused.
Wrapping It Up
A home bakery thrives on more than recipes—it thrives on systems. By setting up your kitchen intentionally, building zones for workflow, storing ingredients safely, and sticking to a cleaning routine, you’ll transform your kitchen into a bakery that works as hard as you do.
The payoff? Less stress, faster production, higher quality cookies, and a business that feels professional from the inside out.
Remember: a smooth-running kitchen is a profitable kitchen.
👉 Want more strategies to organize your kitchen, get more orders, and grow your cookie business? Download my free guide “Sweet Success: 5 Must-Follow Marketing Strategies for Building a Successful Custom Sugar Cookie Business”. It’s packed with tips to help you streamline your baking and boost your sales.
Click here to download your free copy now.
