Tools & Kitchen Setup: Get Your Home Bakery Flowing Like a Dream
Tools & Kitchen Setup: Get Your Home Bakery Flowing Like a Dream
Starting a cookie business from home isn’t about filling your kitchen with every gadget on Amazon—it’s about setting yourself up with the right gear, an efficient flow, and vendors you can trust. In this post, I’ll share what you really need, how to organize your space, the decorating tools that make life easier, and where to shop for supplies without wasting time or money.
The Starter Equipment Checklist: What You Really Need (and What You Don’t)
When it comes to starting out in a cookie business, the hardest part isn’t decorating—it’s figuring out what’s actually essential. A quick search online will overwhelm you with “must-haves.” The truth? You don’t need half of it.
Here’s the real starter kit:
Stand mixer – A KitchenAid or similar is the backbone of cookie dough and royal icing. Don’t skimp here.
Baking sheets (at least 3–4) – Rimless or with low sides work best for even baking.
Silicone baking mats or parchment paper – For no-spread, consistent cookies.
Cooling racks – A must for keeping cookies crisp instead of soggy.
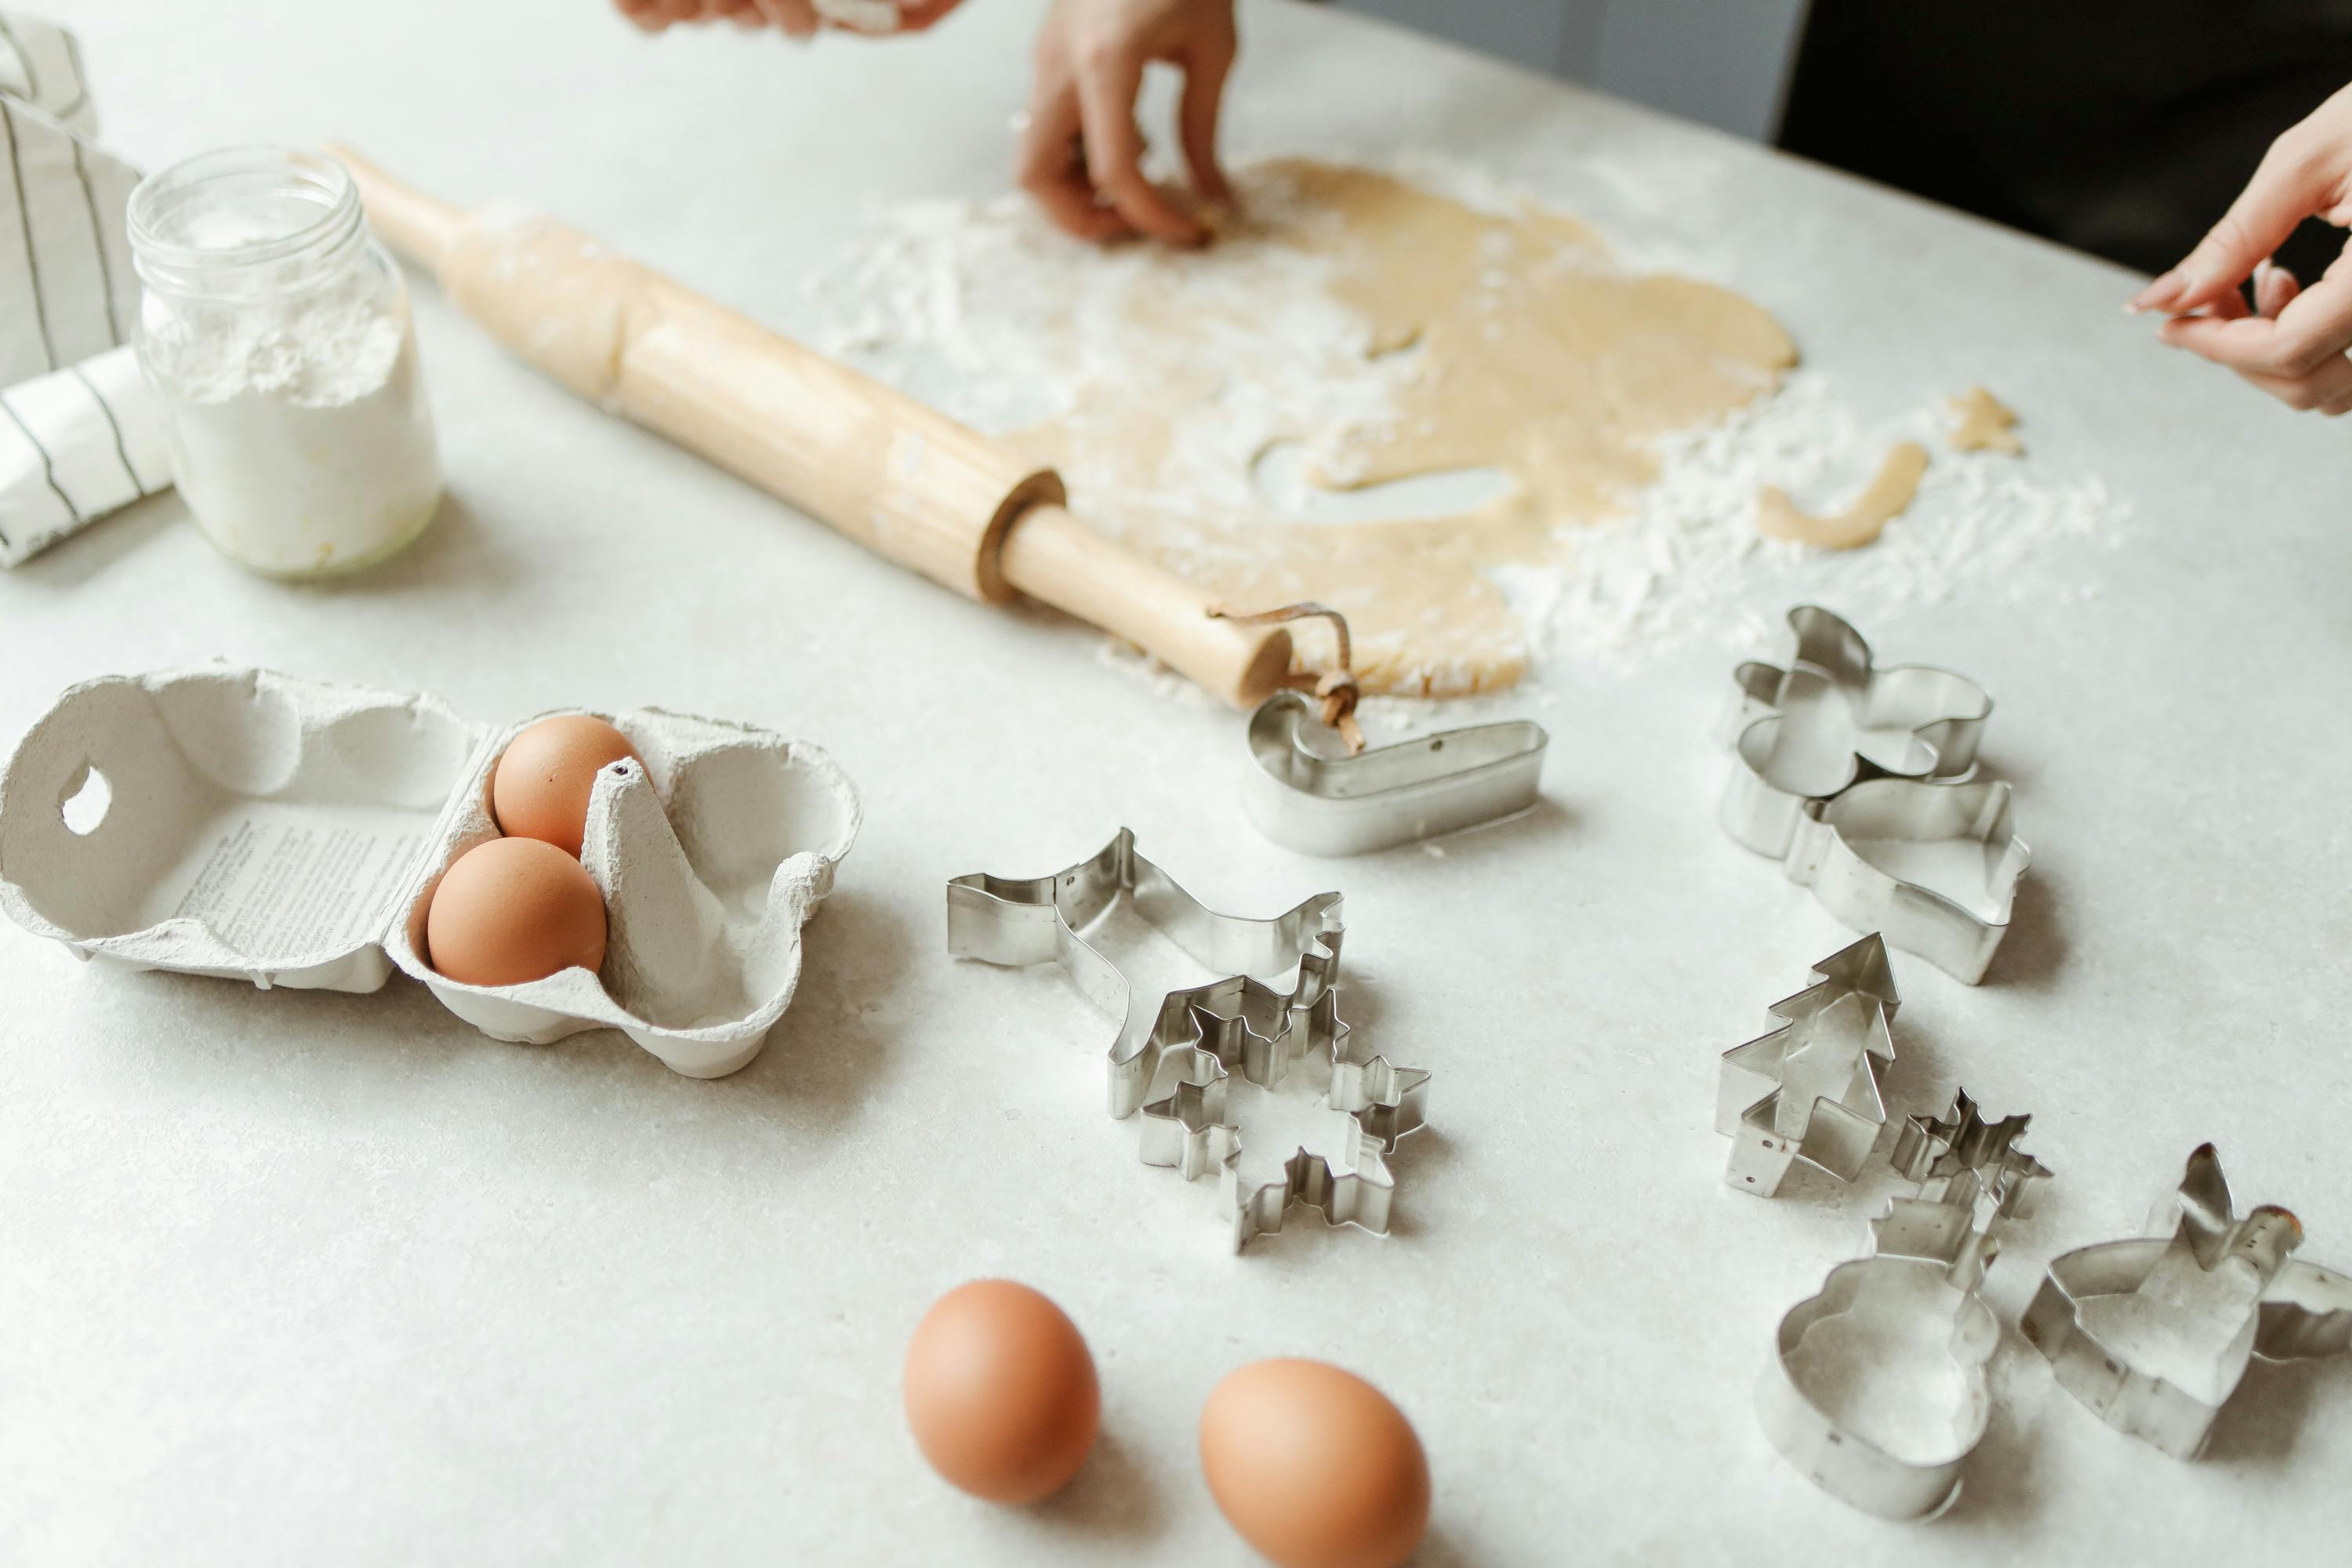
Rolling pin – French style or handled, whichever feels best in your hands.
Cookie cutters (basic shapes) – Circles, squares, hearts. You can add specialty cutters later.
Plastic wrap & airtight containers – For dough resting and storing decorated cookies.
Sharp paring knife and bench scraper – Small but mighty for trimming dough and cleaning up edges.
Food scale – Accuracy is everything when you’re baking to sell.
Skip for now: Expensive fondant tools, specialty pans, airbrush kits, and every themed cutter you see. They’ll just clutter your cabinets until you’ve built up steady sales.
💡 Pro Tip: Buy quality in the basics. One solid mixer is worth more than five drawers of gadgets you never use.

Organizing Your Workspace: Flow Like a Dream
Running a cookie business from home means your kitchen pulls double duty. Without a good system, you’ll be tripping over pans or scrambling for icing bags mid-order. A smooth workspace = faster production and less stress.
Here’s how to make your space flow:
Divide into stations. Think bakery assembly line:
Mixing station: Mixer, ingredients, measuring tools.
Rolling/cutting station: Rolling pin, cutters, flour, bench scraper.
Baking station: Oven, pans, parchment.
Decorating station: Piping bags, tips, scribe tools, icing colors.
Packaging station: Bags, heat sealer, ribbons, labels.
Use vertical space. Install shelving, magnetic strips for cutters, or pegboards for tools.
Clear counters before you start. A 10-minute cleanup at the start of each baking day saves you hours of frustration.
Invest in storage bins. Labeled clear bins keep sprinkles, bags, and food colors visible and easy to grab.
Think about workflow. Move clockwise around your kitchen: dough → bake → cool → decorate → package. Less backtracking means less chaos.
Stefanie swears by having a small rolling cart next to her decorating table—one shelf for piping bags, one for sprinkles, one for napkins. No more digging through drawers while icing floods

Decorating Tools: The Ones Worth Loving
Decorating cookies can either be your favorite part or your most stressful—depending on your tools. After trial, error, and way too many broken tips, here’s the shortlist of icing tools worth every penny:
Piping bags (tipless + reusable) – Tipless bags save time and cleanup. Grab a pack of 100 and thank yourself later.
Couplers & piping tips – A #1 or #2 round tip is your workhorse for outlines and details. Add larger round tips for flooding.
Scribe tool (or even a toothpick) – Essential for popping air bubbles and smoothing icing.
Food-safe squeeze bottles – Great for flooding large areas quickly.
Gel food coloring – Brands like AmeriColor or Chefmaster give vibrant shades without thinning your icing.
Edible markers – For outlines, lettering, or adding tiny details.
Turntable or lazy Susan – Makes detailed piping much easier on your wrists.
Mini Projector (optional upgrade) – For consistent logos or complex designs once you’re taking custom orders.
Skip the bulk “all-in-one decorating kits.” They’re usually filled with tools you’ll never touch. Buy individual pieces you’ll actually use, and upgrade as your skill (and orders) grow.

Where to Buy Supplies: My Go-To Vendors
One of the biggest frustrations Stefanie had early on was finding reliable sources for packaging, tools, and ingredients. Some stores ran out constantly, others were overpriced. Over time, she built a list of favorites that balanced cost, quality, and delivery speed.
Here are some worth checking out:
Amazon – Quick basics like tipless bags, squeeze bottles, and storage bins. Great for reordering in a pinch.
WebstaurantStore – Professional baking sheets, cooling racks, bulk parchment.
Michael’s / Hobby Lobby / JoAnn’s – Sprinkles, seasonal cutters, ribbons, and packaging during holiday rushes.
Cookie Countess – Airbrush colors, stencils, scribe tools, and specialty decorating supplies.
BRP Box Shop – Cute boxes, window bags, and packaging designed for cookies.
Local restaurant supply stores – Don’t overlook these! You can find bulk flour, sugar, and sheet pans for less than retail.
💡 Pro Tip: Choose one main supplier for packaging and order in bulk before major holidays. Nothing kills momentum like running out of boxes the week before Valentine’s Day.
Setting Yourself Up for Success
The right tools and kitchen flow don’t just make baking easier—they save you time, protect your sanity, and create a more professional business. Customers might not see your setup, but they will notice when their orders are consistent, polished, and on time.
Think of your kitchen like a mini bakery:
Reliable tools → consistent product
Organized space → faster turnaround
Trusted vendors → fewer last-minute emergencies
And here’s the best part: you don’t need to spend thousands to get there. With a solid starter kit, a smart layout, and a few trusted vendors, your home bakery will run smoother than most people expect.
Next Steps
If you’re serious about turning your passion into profit, don’t get stuck buying unnecessary gear or trying to reinvent the wheel. Start small, stay organized, and let your tools work for you.
👉 Want to make sure your pricing is right from the start? Try our free Sugar Cookie Pricing Calculator to see exactly what you should be charging per cookie.
With the right setup and pricing, you’ll be on your way to a home bakery that runs like a dream.
Notice: Some of the links above are affiliate links. If you purchase through Amazon, I may receive a small commission at no extra cost to you.
Image Ideas for Week 2 Blog Post
1. Starter Equipment Checklist
Flat lay photo of a minimal baking setup: rolling pin, 2–3 cookie cutters, baking sheet, mixer in the background.
Close-up of a KitchenAid mixer with cookie dough being mixed.
Before/after photo: cluttered drawer of random gadgets vs. tidy drawer of essentials.
2. Organizing Your Workspace
Wide shot of a clean kitchen counter divided into “stations” (mixing, rolling, decorating).
A rolling cart or pegboard with neatly organized decorating bags, sprinkles, and tools.
A workflow diagram graphic (dough → bake → cool → decorate → package).
3. Decorating Tools Guide
Close-up of piping bags filled with colorful royal icing lined up in a row.
Overhead shot of a cookie being decorated with a scribe tool or squeeze bottle.
Artistic photo of edible markers, gel food colors, and brushes arranged neatly.
4. Where to Buy Supplies
Product-style photo of packaging boxes, cookie bags, and ribbons Stefanie uses.
Lifestyle photo of completed cookies inside branded packaging ready for delivery.
A stack of labeled bins (sprinkles, ribbons, cutters) showing smart storage.
5. Call-to-Action / Pricing Calculator Section
A styled flat lay of a cookie order form with a laptop open to the pricing calculator.
Stefanie’s decorated cookies with a caption overlay like: “What should you charge for this?”
Clean, branded graphic pointing to your Sugar Cookie Pricing Calculator link.